Why do we need to extend system partition?
As applications continue to be installed into the Windows system, one day, suddenly you will find that the system partition do not have enough free disk space, and when every time the system starts, Windows always prompts the following information:You are running out of disk space on SYSTEM (C:), To free space on this drive by deleting old or unnecessary files, click here…

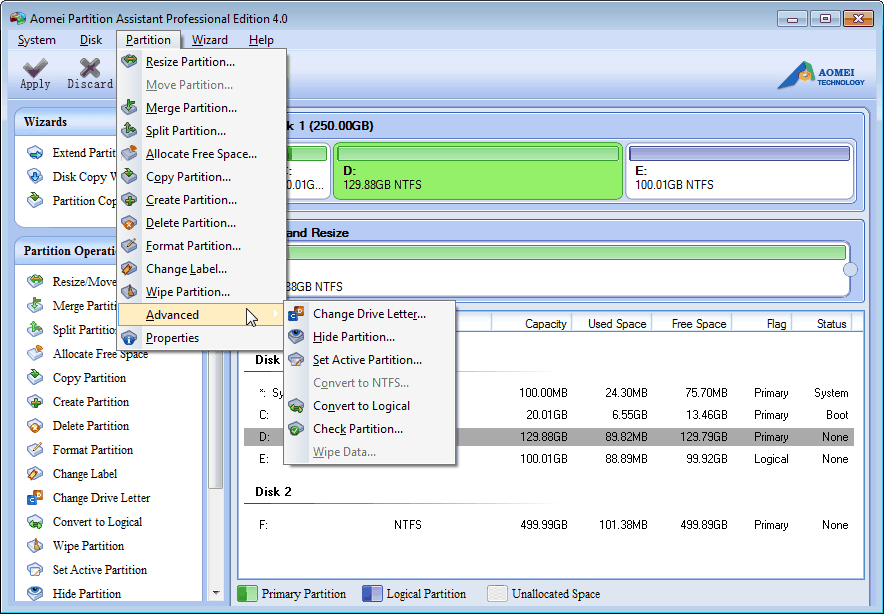
In this case, we have to delete the unwanted file to get more free space in order to ensure the normal operation of Windows. However, deleting files is not the best way, because my system disk have a total of 250GB, the system boot partition (C:) is only 20GB, and 230GB was divided to data partition (D:), it is clear that (D:) space is large enough, and now the best approach is that distribute 60GB from the (D:) to (C:) to extend system partition, so that you can permanently solve the problem by using the Extend Partition Wizard of the "Partition Assistant". Here is the layout of my system disk before extend system volume as shown below:

Expand system partition by using extend partition wizard of Partition Assistant.
Extend Partition Wizard is specially designed for extending your system boot partition and other partitions on a disk. It can fully utilize the free space and unallocated space on the disk to meet your needs. The program will automatically shrink large partitions and moves them to release more space to increase the size for the your appointed partition. It's easy and safe without loss of data, without reformatting partition. Besides, the Partition Manager can help you to realize more advanced partition operations. Step 1:
Start the Extend Partition Wizard of Partition Assistant as administrator privilege, and select the partition that you wish to extend (eg. "Extend system partition") shown below:
 Step 2:
Click the Next button, skip a welcome screen, and select partitions which will need to be shrunk to take the free space from them. The screenshot is as follows.
 Step 3:
Specify a new size of the partition that you are extending by moving slider or by entering proper value into Partition New Size box, and you could preview the changes in time.
 Step 4:
Review your harddisk structure before and after the change, and confirm these operations that will be processed. Then click the Proceed button and click Yes to start.
 Step 5:
Show the operation is being processed. You will receive a report when completing. Then view C: drive in Explorer, you found it has been extended.

No comments:
Post a Comment